Hardware/FPGARack/Programmation
From UIT
|
General
For all programmation you first have to complete some steps, they are intend for the VHDL Template Design:
- Create a Design
- Test and Simulate the Design
- Perform Task Flow Prepare for Synthesis
- Generate all VHDL Files
- Concatenate into a single VHDL File
- Trimming work libraries
- Perform Task Flow Xilinx Project Navigator
- Updating the ISE (*.xise) Project file
- Launch ISE
- Perform Task Generate Programmation File
- Synthesis
- P&R
- Generate Programmation File *.bit file
- Manage Configuration Project (impact)
- Launch Impact
- First part is done see below
FPGA Programing
If you want to program the FPGA directly, you can use the previously generated *.bit file. This programmation works with the Amontec Chameleon Programmer but the Official Xilinx USB programmer is recommended
Execute the following steps:
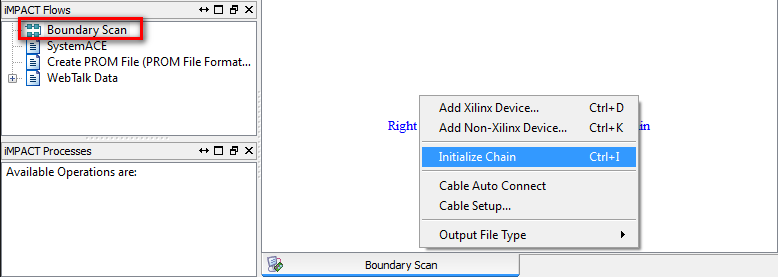
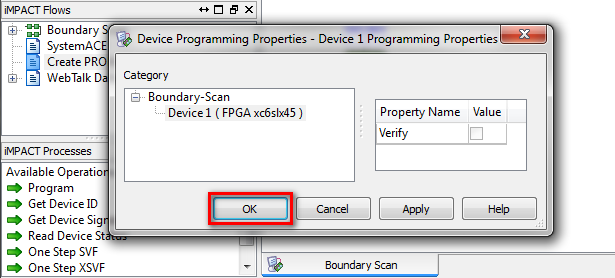
- Perform a boundary Scan
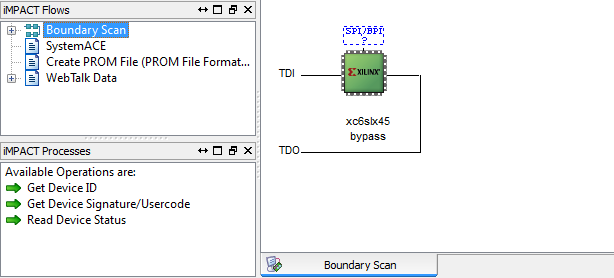
- Left click on the FPGA symbol (turns green)
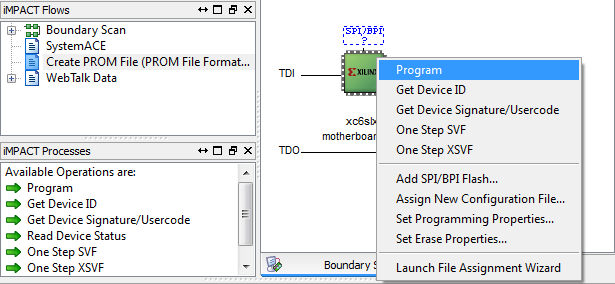
- Right click on the FPGA
- Right click on the FPGA
- DONE
Flash Programmation
To program the FLASH you need to turn your *.bit into a *.mcs files witch can then be programmed through the FPGA into the Flash.
Flash programmation works ONLY with Official Xilinx USB Programmer
Create Flash *.mcs File
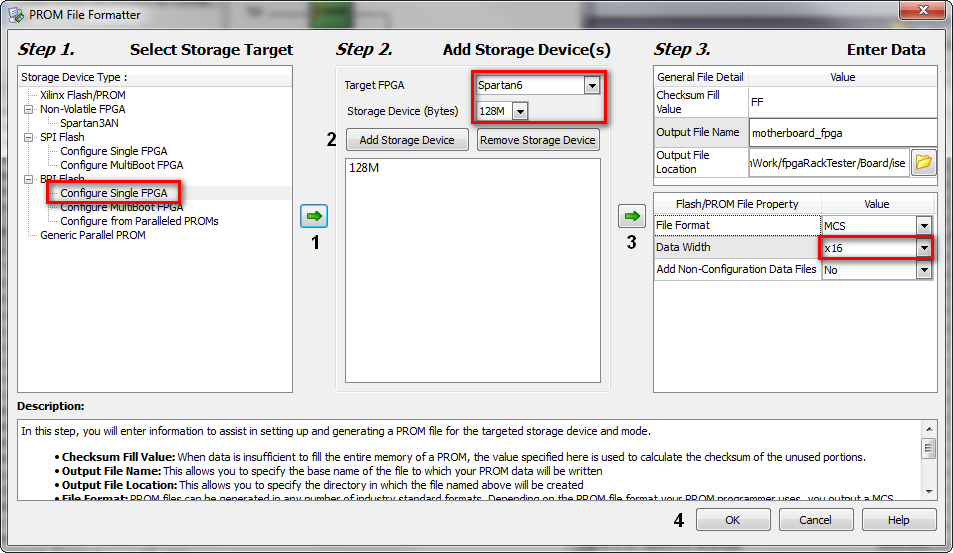
- Choose Task Create PROM File
- Dialog File PROM Formatter opens
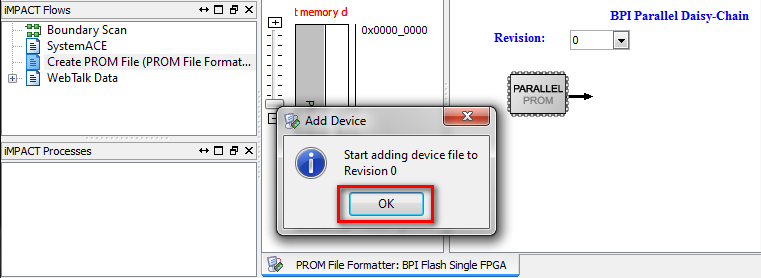
- Click OK on Add Device Dialog
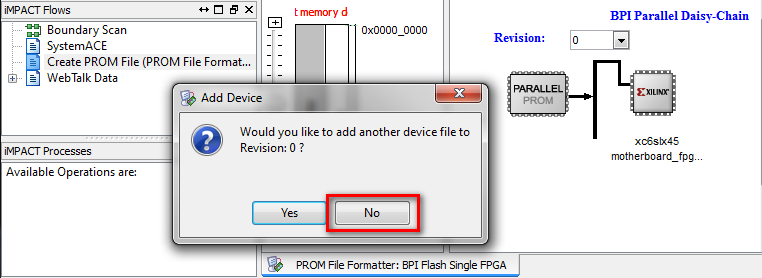
- Choose you previously generated *.bit file
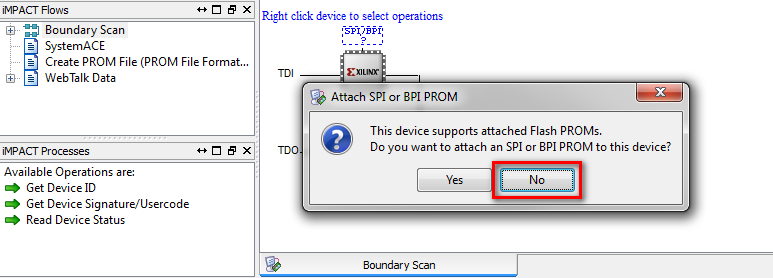
- Click NO on the second Add Device Dialog
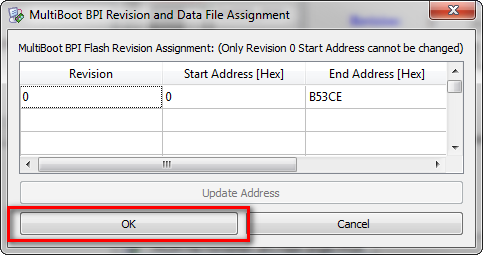
- Dialog Multiboot BPI Revision and Data File Assignment opens
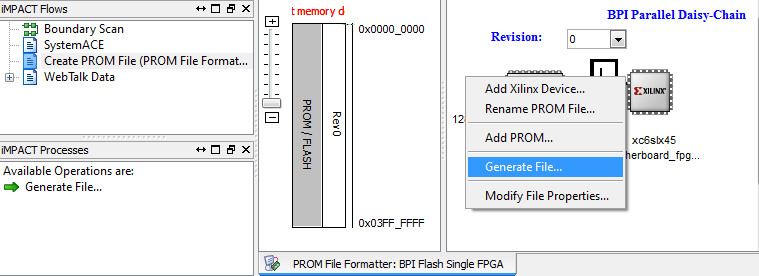
- Right click on the white canvas
- Choose Generate File
- The Flash program file *.mcs is now created
Programm *.mcs File
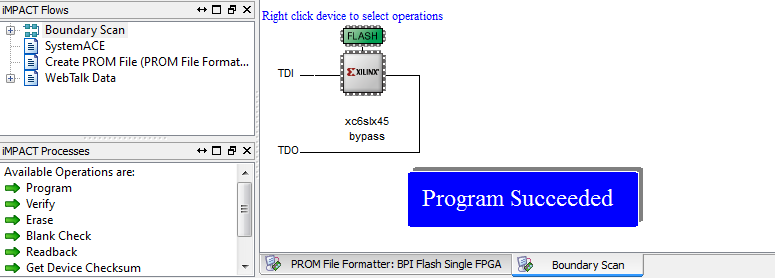
- Perform a boundary Scan
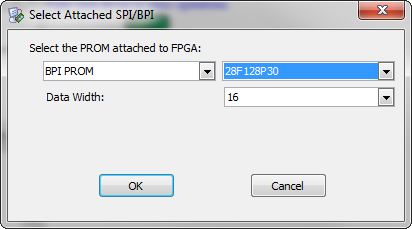
- Right Click on the Blue SPI/BPI Symbol
- Right Click on the new FLASH Symbol
- DONE
